How to synchronize my data with Bitget
How to synchronize my data with Bitget and create my API key.
Step 1: Connect to your Bitget account
- Click on your profile photo at the top right, then on "API keys"

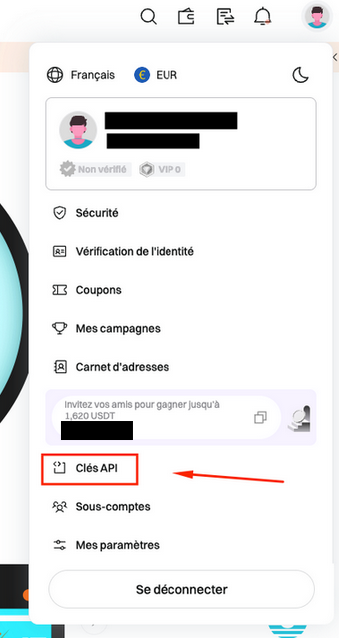
- Click on "Create an API key"

- Click on "API key generated by the system"

- Return the information necessary for the creation of the API

👉 Note = name of your API key
👉 Secret sentence = password of your API key
🚨 Important: Make sure you have selected "Reading alone" and "Select All" so that we have the necessary authorizations to recover all of your transactions.
Return your security information then click on "confirmer"
- Copy your API key and secret key

Step 2: Add the API key to Exceefy
Click on the profile icon, then go to settings > portfolio.
Select an existing wallet or create a new one.
Fill the necessary information:
Portfolio name
Platform: Choose Bitget

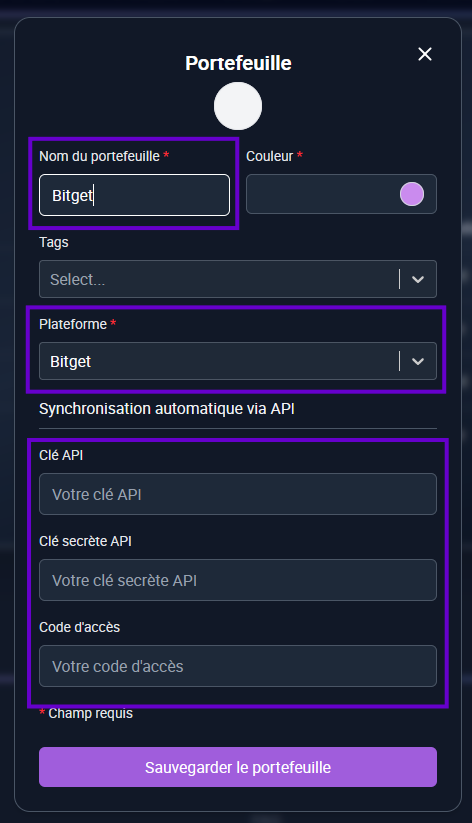
Three new fields will appear: API key, Key secret and Access code (secret phrase)
Copy/paste the information generated from your Bitget space (see step 1).
Click Save and test.
👉 If the information is correct, two new buttons will appear:

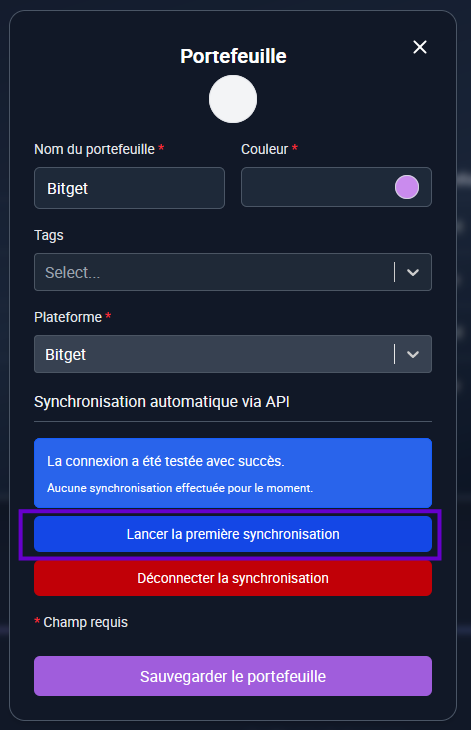
Launch the first synchronization: Start the initial import of your transactions (this can last a few minutes). During the first synchronization, the PRUs will not be informed because Bitget does not provide us with the information, it is therefore necessary to modify your asset lines to inform the first PRUs. The transactions that will follow will be entered automatically.
A notification will be sent to you when synchronization is completed.
Step 3: Transactions monitoring
Once the synchronization is finished ✅, all your bitget transactions are imported into Exceefy.
The next transactions will also be synchronized automatically every 24h.
Do not worry if you do not see your last operations immediately, they will appear during the next update.